In this article, I’m going to walk you through how I navigate some of the CKAN user interface (UI) screens in a very simple way. This is just a quick intro for people who want a little help getting started with the basics.
Setting up the environment
I have CKAN running within a Docker environment using a local stack on my Mac OS machine. When I start, my containers are down, but the images, volumes, and networks are all installed and ready to go.
To get things moving from the command line:
- Build the environment: I run docker-compose build first just to make sure everything is ready. It usually checks the images very quickly.
- Start the containers: I run docker-compose up to start all the containers.
- Monitor initialisation: You’ll see color-coded initialisation logs in the terminal as each component starts.
Verify the stack: I wait until the key containers—DataPusher, DB, Redis, Solr, and CKAN—are up. Finally, once NGINX is up, the system is ready for the browser.
[Login to the CKAN instance]
Organising data with organizations and datasets
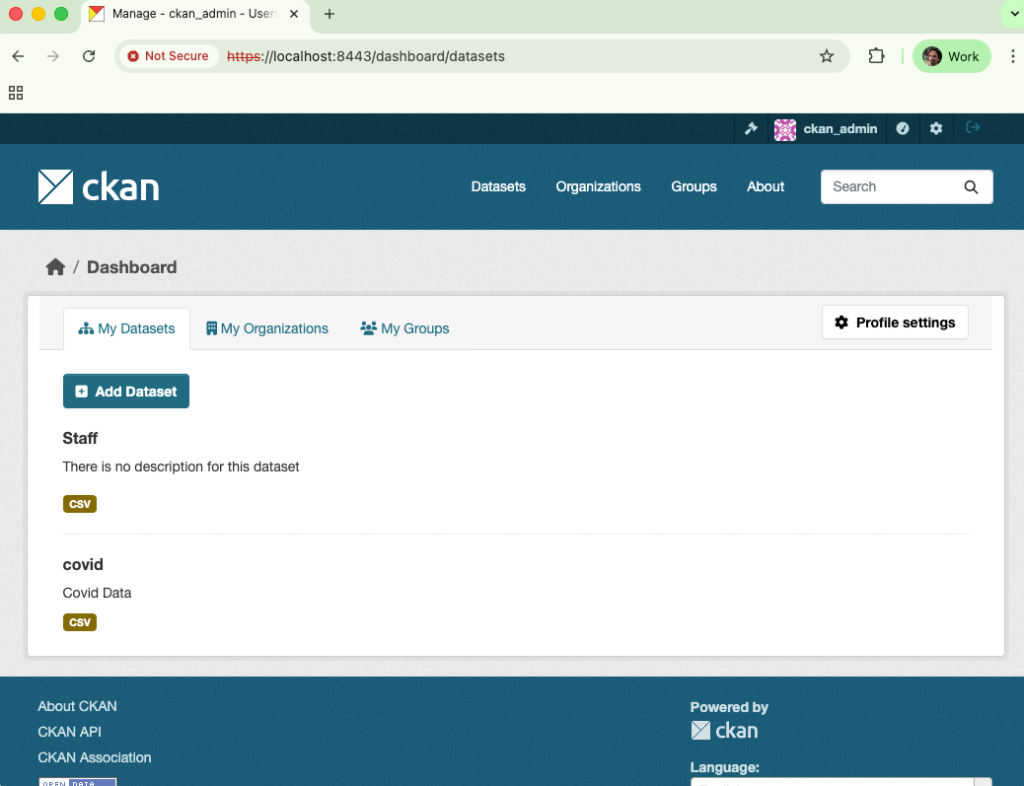
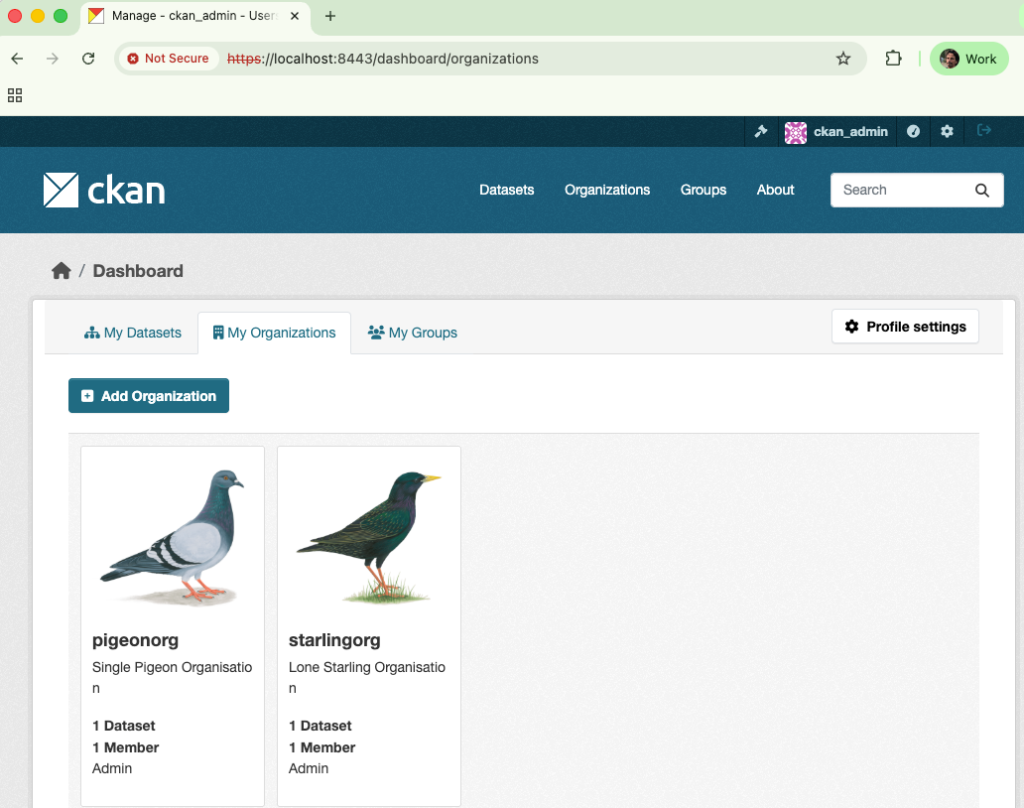
Once I’m logged in as an admin (ckan_admin), I can start managing data. I like to use Organizations to keep things organised. For example, I’ve set up two: “Pigeonorg” and “Starlingorg”.
Adding a new dataset
If I want to add data to an organization, like “Starlingorg,” here is the process:
- Add Dataset: Navigate to the organization and select “Add Dataset”.
- Name it: I’ll call this one “Staff”.
- Visibility: I usually set this to “Public” for my tests.
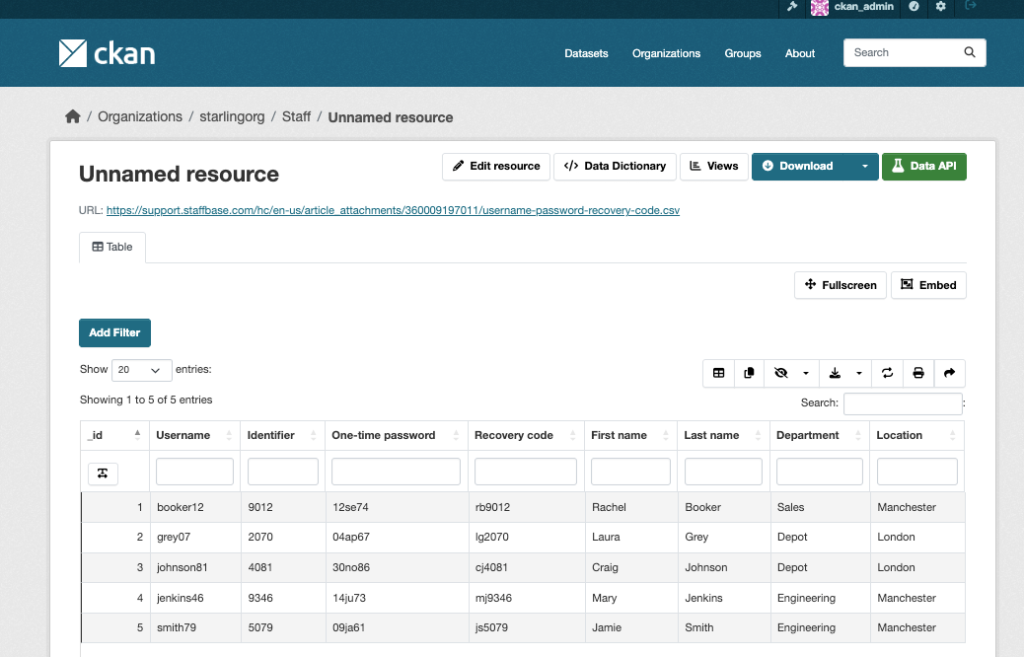
- Add Data: You can link directly to a URL if you have a CSV file available on the internet.
- View Results: Once created, CKAN gives you a view of the raw data, like a five-line CSV file, directly in the UI.
The DataStore and Datapusher extension
CKAN uses a DataStore to house this information. When you add a resource, the Data Pusher container works behind the scenes to push those entries into the database. You can check the DataStore tab to verify that the lines were successfully pushed.
[There will be details (logs) of the resource being either successfully or unsuccessfully imported into the CKAN DataStore]
User management
You can manage users from the command line, but it’s also easy to do through the UI.
Registering a new user
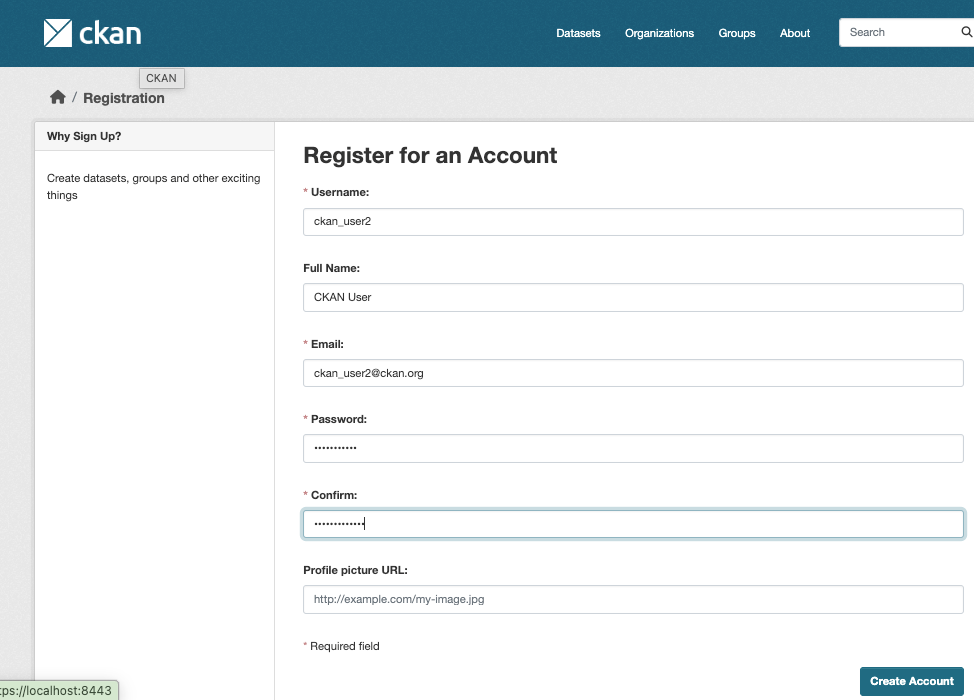
To register a new person, I navigate to the /user/register URL while logged in as an admin.
- I’ll provide a username (like “CKAN_User2”) and an email address.
- After creating the account, that new user can log in independently.
Promoting to sysadmin
By default, new users don’t have full permissions. To make someone a sysadmin:
- Go to the sysadmin management screen.
- Choose the user you want to promote from the list.
- Once promoted, they will appear in the official list of admins for that CKAN instance.
I hope these simple steps help get you going with CKAN.
Does your team need experts to update your CKAN portal? Message Link Digital.
Read more tutorials from Brett Jones here.